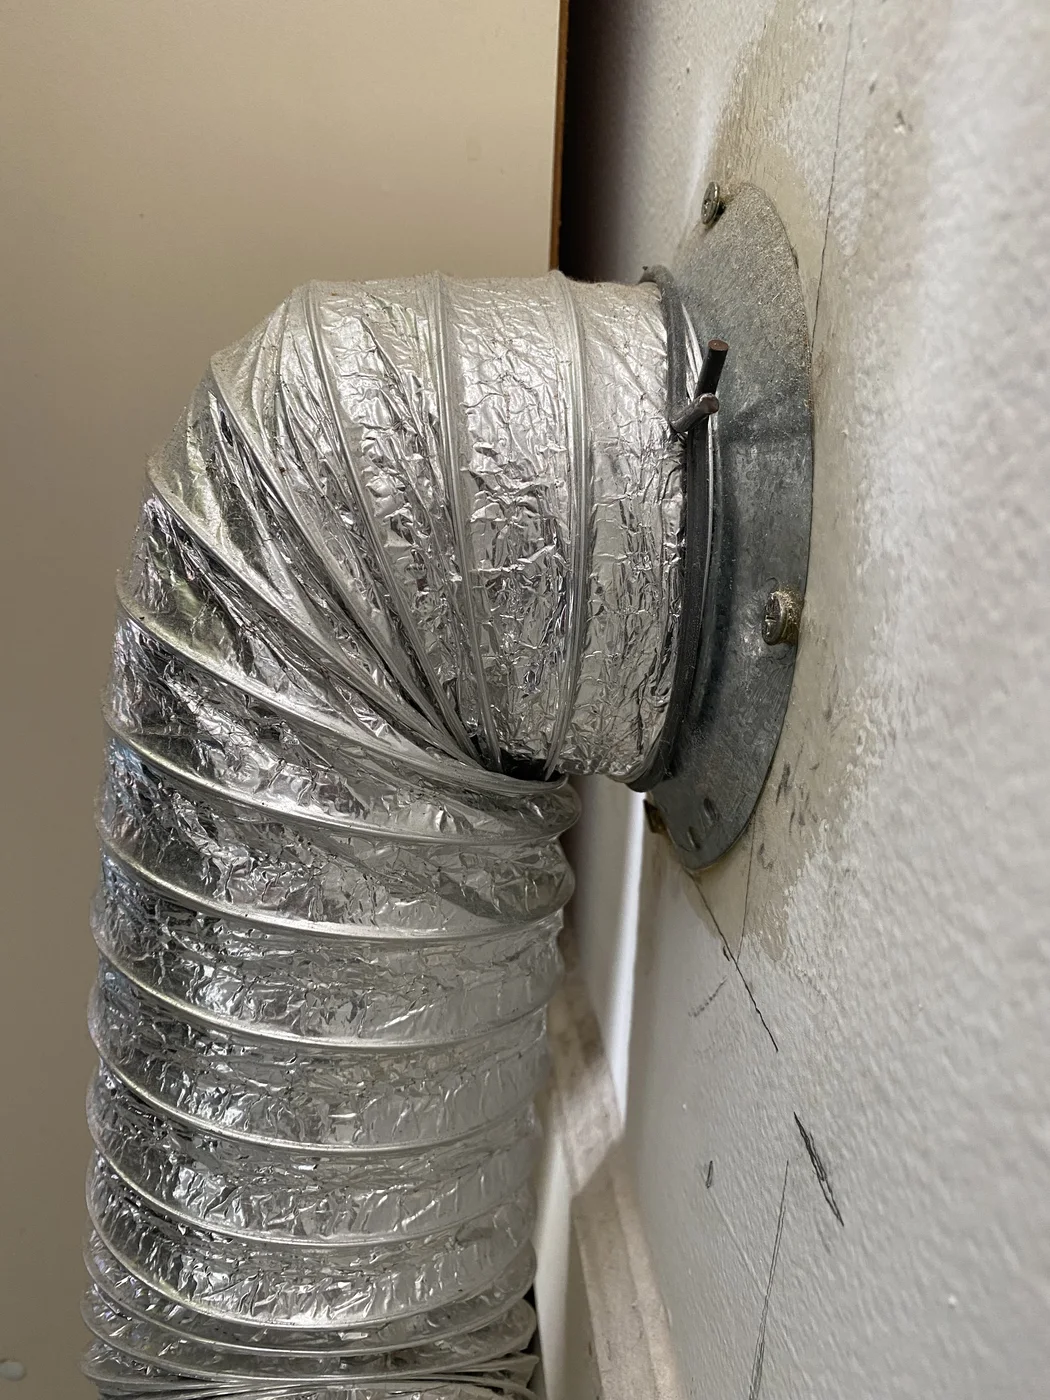
The transition duct is the short connector that runs from the dryer outlet to the building’s exhaust duct. It is usually flexible so the appliance can be installed and moved for service, but that flexibility also makes the connector vulnerable to crushing, kinking, and excessive looping. Because the damage often occurs as the dryer is pushed toward the wall, the final condition may be hidden from view. A technician can remove lint from a duct, but cleaning cannot restore the open shape of a connector that has been flattened or structurally damaged. That calls for a separate correction.
Why the connector gets crushed
Laundry spaces are often designed with only a small clearance between the appliance and the wall. As the dryer moves backward, the installer cannot always see how the connector is folding. Too much transition length may form a loop, while too little may pull loose when the dryer is moved forward. A wall outlet that is offset from the dryer exhaust can create another tight turn. Storage items, leveling adjustments, or routine cleaning behind the machine can also change the connector’s position. None of these conditions proves that the concealed duct is dirty. They simply show why the visible transition deserves its own inspection whenever a dryer is installed, moved, or begins taking longer to dry familiar loads.
How a flattened section affects the exhaust path
A round connector provides an open passage for the dryer’s blower. When part of that passage is pinched into a narrow oval or folded sharply, the available opening is reduced. The dryer may still move some air, so the problem is not always obvious from sound alone. Depending on the dryer and the severity of the deformation, the homeowner may notice longer cycles, a vent warning, or a damper that opens less fully. Those signs remain nonspecific; lint elsewhere or an appliance issue may also be involved. The important point is that a mechanical reduction in duct area can contribute to restriction even when little lint is present at that exact spot.
Why a brush cannot repair damaged material
Vent-cleaning tools are intended to dislodge and collect lint from the exhaust path. They do not reinforce a torn connector, reopen a permanently flattened section, or correct an arrangement that collapses every time the dryer is pushed back. If the transition duct is damaged, the practical solution may be replacement with a manufacturer-appropriate connector and a better route. If it is merely positioned poorly and remains in good condition, it may be possible to rearrange it without replacement. The technician should explain which condition was observed instead of describing every connector issue as a clog. Cleaning the concealed run can still be worthwhile when buildup is present, but it should not be presented as a repair for a physical defect.
Material and routing should follow the appliance instructions
Dryer manufacturers provide model-specific venting instructions, including suitable transition materials and allowable configurations. Common manufacturer guidance favors approved metal transition duct rather than plastic or thin foil products, and it emphasizes keeping the route as short and direct as the installation allows. That does not mean the stiffest possible connector is automatically best for every laundry room. The correct choice must accommodate the dryer outlet, the wall connection, service access, and the space available without collapsing. A low-profile connection or relocation of the wall outlet may be worth discussing when a standard connector cannot fit properly. Changes to concealed ductwork or building penetrations may require a different qualified trade or property approval.
The final placement matters as much as the initial connection
A connector can look excellent while the dryer is pulled several feet into the room and still end up crushed in its operating position. The final step is to move the appliance back gradually while controlling the duct route and protecting utility connections. Once the dryer is in place, the connection should not be under tension, trapped beneath the appliance, or pressed flat between the cabinet and wall. Access can be difficult in stacked units, closets, and compact condominiums, so this is not always a do-it-yourself check. If moving the dryer could strain a gas line, power cord, drain hose, or water connection, leave the work to someone equipped to handle the full installation safely.
Not sure what is happening behind the dryer?
Zarts can inspect the accessible transition connection as part of a dryer vent service, document visible crushing or damage, and explain whether the concern is cleaning, connector correction, or a separate appliance issue.
Sources and further reading
These primary sources support the general consumer and system information in this guide. They do not endorse Zarts or replace evaluation of a specific home.